

Making wooden coasters is a small project with a satisfying finish: a set of useful pieces that protects the table and brings a little warmth to everyday drinks. Start with a flat hardwood board, keep the shape simple, and give yourself time for sanding and finishing. The result does not need fancy joinery or an elaborate design to feel thoughtful.
This guide focuses on straightforward four-inch square coasters, a flexible size for coffee mugs, glasses, cans, and bottles. It is a good first woodworking project because every step has a clear purpose. Accurate cuts keep the set tidy. Sanding makes each edge comfortable to hold. A suitable finish and optional cork backing help the coasters work well where they will actually be used.
Choose a Simple Shape and Size First
Before reaching for a saw, decide what the coasters need to hold. The base of the drink matters more than its rim. A wide tumbler can taper to a smaller base, while a mug may have a broad footprint that needs a little room around it. For most homes, a four-inch square is a comfortable starting point. It fits the things people set down most often without crowding a small table or tray.
That size is not a rule carved in stone. If your favorite glasses are wider, trace the base on paper and add a little breathing room. If you are making a set for a bar cart or a narrow bedside table, a compact square can feel more balanced. JC Saw & Stitch's coaster size guide offers more help comparing common drink bases before you cut a whole batch.
Square coasters are especially forgiving for a first set. They are easy to mark from a straight board, easy to sand evenly, and easy to stack. Round, hexagonal, or live-edge pieces can be beautiful too, but they ask for a little more care in layout and shaping. Start with a form you can repeat confidently, then let the wood grain and finish provide the character.
Gather Materials That Match the Job
A small set of four or six coasters does not require a full shop. You need a flat board, a safe way to cut it into equal pieces, sandpaper, a clean cloth, and a finish chosen for the way the coasters will be used. A backing material such as thin cork is optional, but it is worth considering for tables with finished wood, painted surfaces, or glass tops.
Look for a board with a calm, even face and no loose knots. Hardwoods tend to give a coaster a pleasant weight and a durable feel, but the best board is one that is dry, flat, and easy for you to work accurately. Avoid pieces that are cupped, twisted, deeply split, or covered with unknown residue. Those flaws make it harder to get every coaster to sit flat.
For a beginner pattern, a one-by-four hardwood board can be cut into four-inch lengths, as shown in Harbor Freight's simple wooden coaster project. Whatever cutting tool you use, follow its instructions, support the board securely, and make only cuts you can perform safely. There is no prize for rushing a small project.

Step 1: Mark the Set Before You Cut
Use a pencil and a square to mark each coaster from the same reference edge of the board. Measuring every piece from the same clean edge makes small variations less likely to build up across the set. Mark all of the pieces before cutting so you can check the layout, avoid an unattractive knot, and make sure the board will yield the number of coasters you planned.
Make the marks visible enough to follow, but keep them light. Pencil lines sand away more easily than deep scoring marks. If the board has a side with more attractive grain, mark the back so the better face stays easy to identify. That little bit of planning helps when you arrange the set after sanding.
Do not worry if the first cut does not look like a finished coaster yet. The goal at this stage is consistency. A slightly plain set of squares can become beautiful through smooth edges, careful finishing, and the natural differences in the wood. Uneven measurements are much harder to disguise later.
Step 2: Cut, Then Check Every Piece
Cut just to the waste side of each line if your tool and experience call for it, then use sanding to bring the edges to the final line. After cutting, set all of the pieces on a flat surface and compare them as a group. Look for a noticeably long piece, a rough corner, or a board that rocks. Correcting those things now is easier than discovering them after you have started finishing.
Check the face as well as the outline. A coaster should support a drink steadily, so a badly cupped blank is better saved for another small project than forced into the set. Place two pieces face to face and look for gaps. Run a finger around the perimeter and note splinters or sharp corners. These observations tell you where sanding needs the most attention.
If you are making a gift, make one extra blank. It gives you room to practice the finish or replace a piece that does not match the rest of the set. Small batches are where a little patience makes the work look deliberate.
Step 3: Sand for Comfort, Not Just Smoothness
Sanding does more than erase saw marks. It makes the coaster pleasant to pick up, keeps the corners from catching on a cloth, and prepares the surface to accept finish evenly. Start with a grit that removes the roughness left by cutting, then move through finer grits until the faces and edges feel smooth. Keep the sanding block flat on the main faces so you do not create a hollow spot.
Give special attention to the edges. A tiny eased edge feels better than a sharp one and makes the coaster less likely to chip from everyday bumps. You do not need a dramatic rounded profile. A few careful passes to soften the corners are usually enough. Try to repeat the same treatment on every piece so the stack looks and feels like a set.
Wipe away dust before moving to a finer grit and again before finishing. Dust can hide scratches while you are sanding, then reveal them once a finish deepens the color of the wood. Take the time to inspect in good light. If a scratch is visible before finishing, it will likely be more visible after.
Step 4: Pick a Finish With Daily Use in Mind
A coaster has a simple but demanding job. It meets condensation, warm mugs, and occasional spills, so the finish should be chosen for protection and maintained according to its maker's instructions. Read the label carefully and allow the full cure time, not just the time it feels dry to the touch. Dry and cured are not the same thing.
The USDA Forest Products Laboratory advises checking a finish label or manufacturer when a wood item will handle or store food. A drink coaster is not a cutting board, but it is still wise to choose a product that fits the intended use and follow the directions for ventilation, coats, and curing.
Apply the finish in thin, even coats with a clean lint-free cloth or the applicator the product recommends. Keep the coats light rather than flooding the surface. Let each coat dry as directed, then lightly smooth only if the instructions call for it. The best finish is the one you can apply cleanly and allow to cure fully before the coasters go under a cold glass.

Step 5: Add Cork Backing After the Finish Cures
Cork is a small detail that makes a wooden coaster kinder to furniture. It softens the contact point with the table and can help the coaster stay in place on a smooth surface. Buy thin cork sheet, place a finished coaster face down, trace the outline, and cut just inside the line so the cork is not visible from above.
Wait until the finish is fully cured before attaching the backing. Then use an adhesive that is suitable for the materials and follow its directions. Press the cork down evenly and let it set on a flat surface. Test one coaster first if you are unsure how the adhesive will behave. A tidy backing is worth the extra few minutes.
Not every set needs cork. If you prefer the look and feel of bare wood on the underside, make sure that face is as smooth as the top and inspect it for grit or raised fibers. What touches the table matters just as much as the face that holds the drink.
Step 6: Test the Set at the Table
When the finish and adhesive have fully cured, place the coasters where they will be used. Set a favorite mug, cold glass, bottle, and tumbler on them. Check that the drink feels steady, the coaster sits flat, and the size works with the furniture. This real-world test is more useful than admiring them on the workbench.
A finished set also makes a thoughtful handmade gift. Tie four or six together with a simple ribbon, pair them with coffee or tea, or place them on a handmade wooden serving tray for an easy host gift. The value is not in how complicated the project was. It is in making something personal that people will keep within reach.

When You Want the Handmade Look Without the Workshop
Making a set yourself is a rewarding way to learn the rhythm of cutting, sanding, and finishing. It also gives you a clear eye for the details that make a coaster useful: a comfortable edge, a stable shape, a finish that is allowed to cure, and a backing that respects the table beneath it.
Sometimes the better choice is to skip the tools and choose a finished set. JC Saw & Stitch makes engraved hardwood drink coasters with cork backing for people who want that same warm, useful presence on the table. They are a simple choice for everyday drinks, a housewarming, or a gift that feels personal without adding a weekend project to the list.
Whether you make them or choose them ready to use, keep coasters out where drinks naturally gather. The best set is the one that gets used for morning coffee, a glass of water, and the conversations that happen around the table, season after season.
Making Wooden Coasters FAQ
What wood is best for homemade coasters?
A smooth, stable hardwood is a practical choice because it feels substantial and sands cleanly. Choose a board that is flat, dry, and free of loose knots or deep cracks. The goal is a coaster that sits flat under a drink and feels good in the hand.
What size should wooden coasters be?
A four-inch square is a useful all-around starting point. It gives common glasses, mugs, bottles, and many tumblers room to land without taking up too much table space. If you use especially large mugs or tumblers, trace the base before cutting a full set.
Do wood coasters need cork backing?
Cork backing is not required, but it is a helpful finishing detail. It gives the coaster a softer contact point with furniture and can help it stay put on a smooth tabletop. Apply it only after the wood finish has fully cured.
How do I keep wooden coasters from getting water rings?
Wipe up standing moisture after use and let the coaster dry rather than leaving it beneath a wet glass for hours. A properly chosen and fully cured finish adds protection, but no wood coaster should be treated like it is waterproof forever.
Related posts

How Thick Should Wood Coasters Be?
Understand why a 3/8-inch wood coaster feels sturdy on the table, stores easily, and suits everyday drinks.
Read the guide
What Is the Standard Coaster Size? 4-Inch Guide
Find the standard coaster size for everyday glasses, mugs, tumblers, bottles, and cans, plus when to choose a larger fit.
Read the guide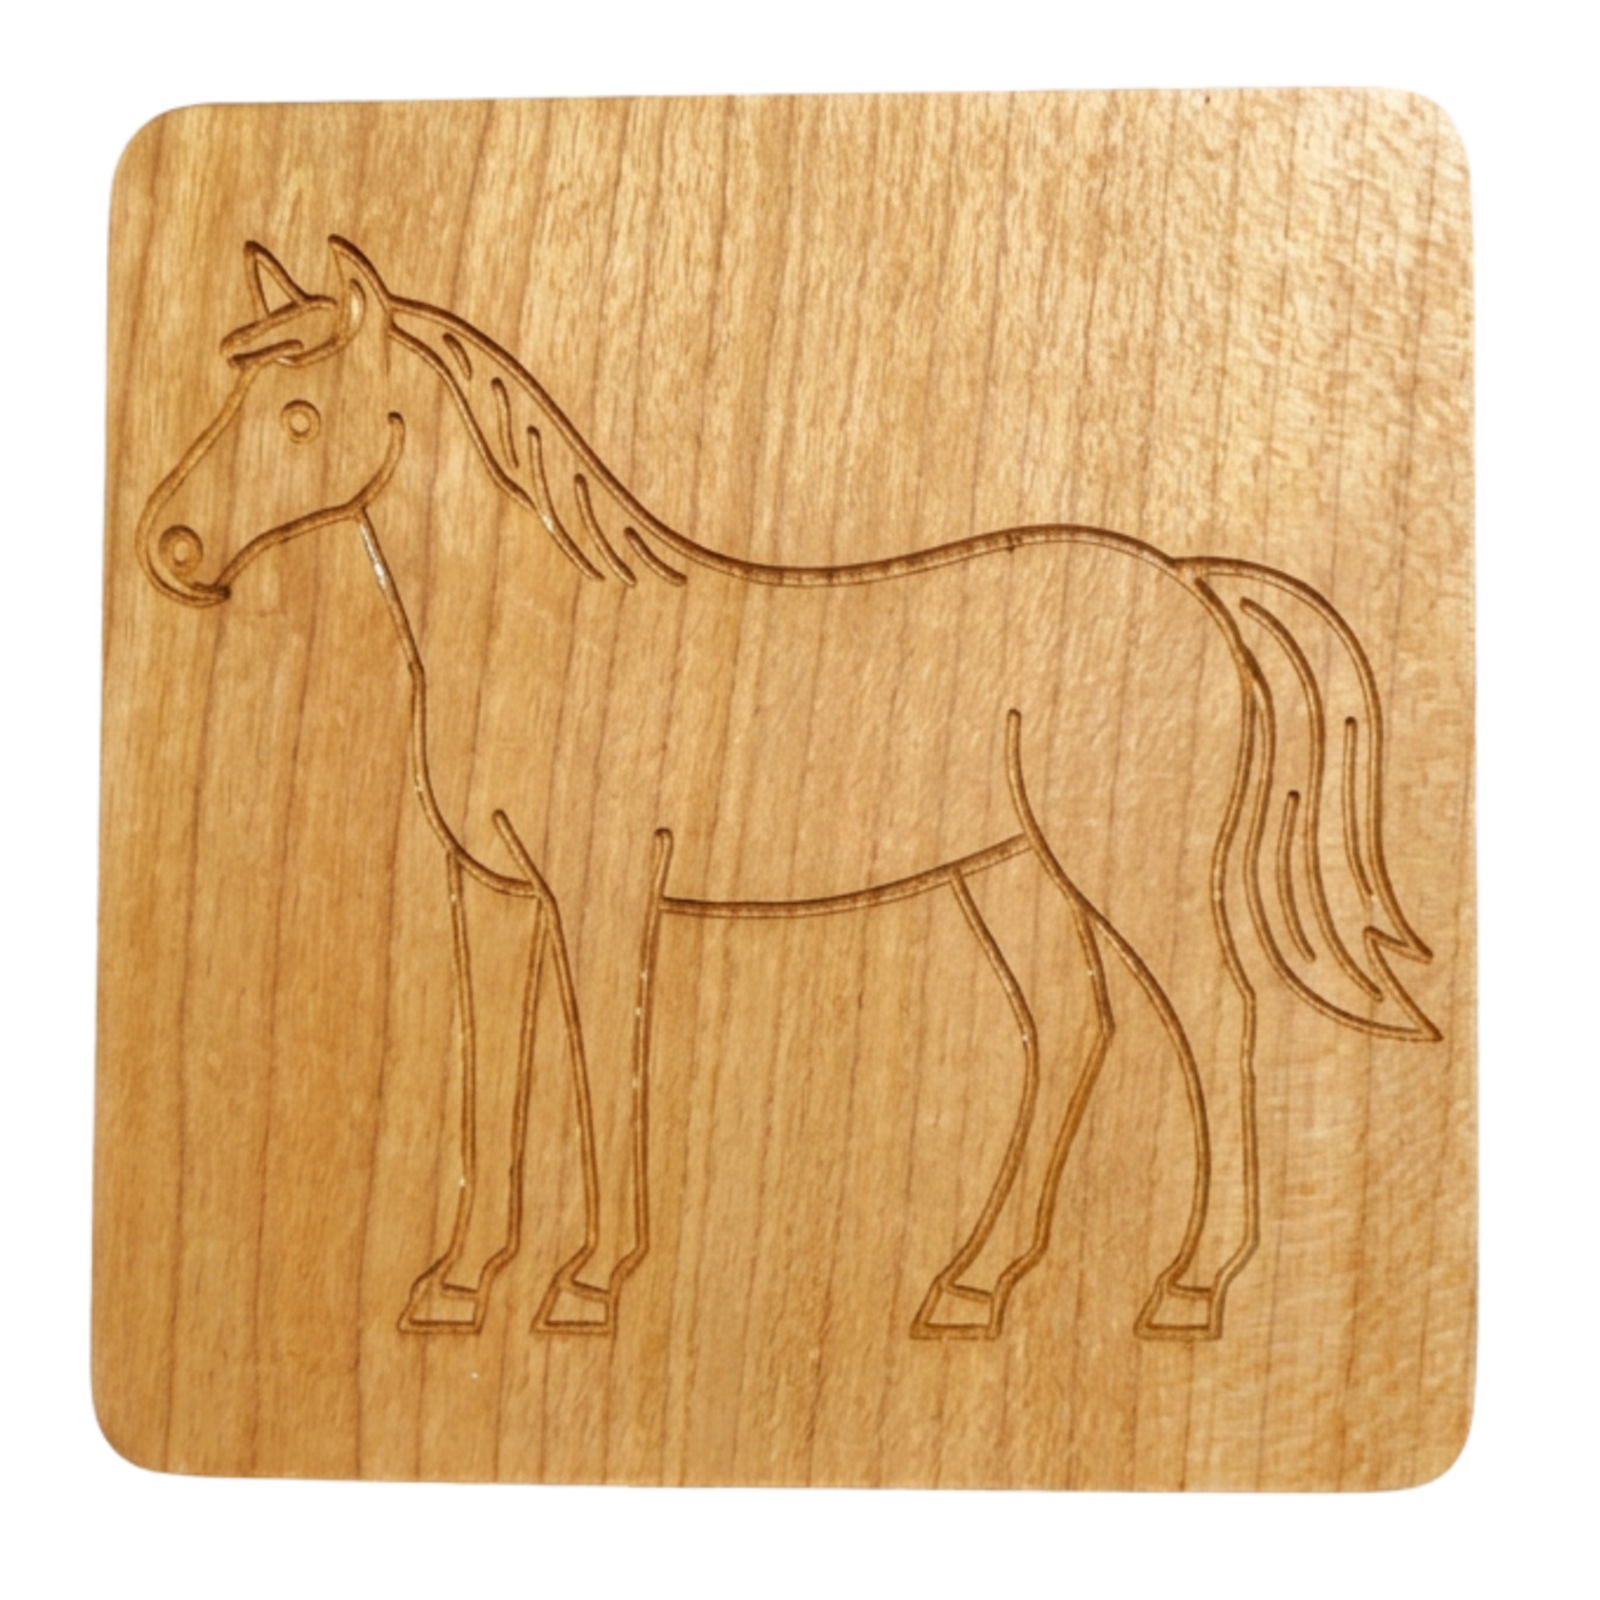
How to Use Coasters: Which Side Goes Up?
Simple ways to use coasters, choose the right side up, and protect the table every day.
Read the guide
Wood Drink Coasters: A Guide to Choosing Them
Choose a hardwood coaster that protects the table and feels right at home.
Read the guide